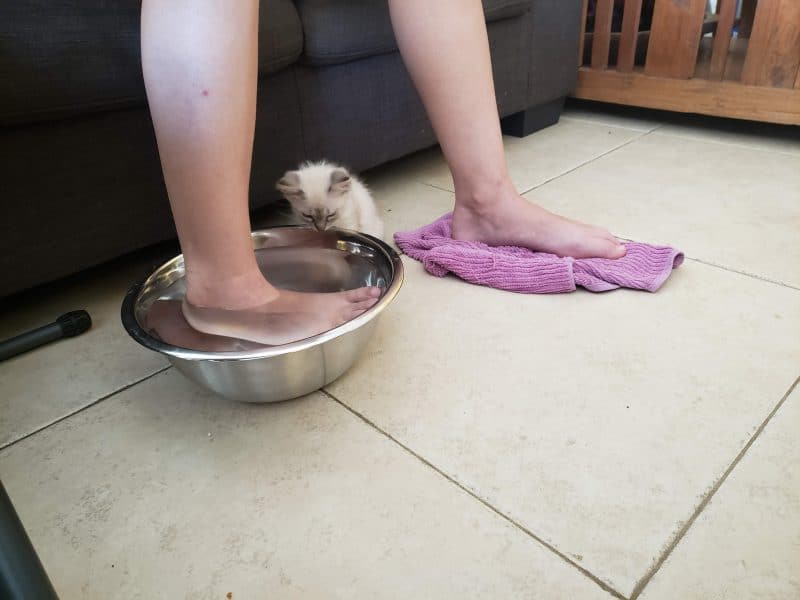
The girls and I have been taking it pretty easy down here in Mexico, as evidenced by the slow trickle of blog posts. I already mentioned it in this blog post, explaining that this is our fallow time, where we are resting up for the next phase. But we are still having some great fun! A few weeks ago we spent the weekend with Coco and all of her furry friends.
Coco’s is an Animal Welfare organization in Playa del Carmen, where Zoe has been volunteering over the last few months. Here is their mission statement.
Coco’s Animal Welfare is dedicated to reducing and controlling cat and dog populations in Playa del Carmen (PdC) and the Riviera Maya (RM), Mexico, through our permanent clinic facility and mobile spay and neuter clinics throughout the region. Low cost or free sterilization is provided for pets, street dogs and cats, and animals rescued by local rescue groups.
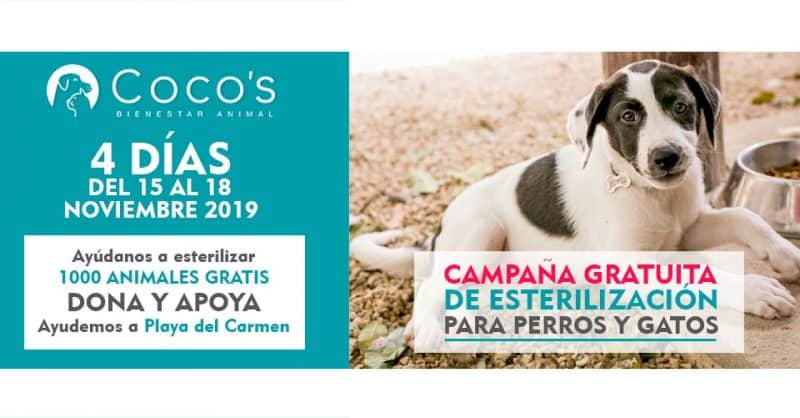
Recently Coco’s had their annual 4-day free sterilization clinic. Of course you can’t pull that kind of thing off without a lot of help, so the girls and I signed up to volunteer. We thought it would be a good thing to do but we had no idea how much FUN we would have, while at the same time WORKING so hard! Those two words don’t always go together for teens and mine are no exception, but this weekend the girls experienced it. I’m going to tell you how the clinic worked because as a logistics freak, I found the whole thing fascinating.
Step 1: Get In Line
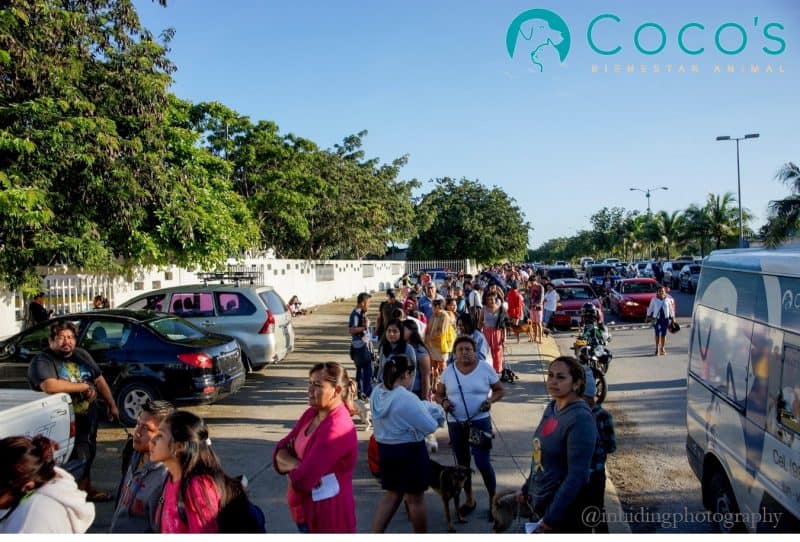
The clinic opened at 7 a.m but on day 1 there were humans and their animals in line by 5 a.m. I was shocked that people would stand in line for so long, but clearly this was a valuable resource that they wanted and needed for their pet. The dog line was longer than the cat line. We passed out fichas (I don’t even know the word in English, they were just called fichas – little tickets with numbers) that gave people a guaranteed entry that day. Or, if the number of people in line exceeded our capacity for the day (more or less 300 animals) the people would be given fichas that advanced them to the front of the line the next day.
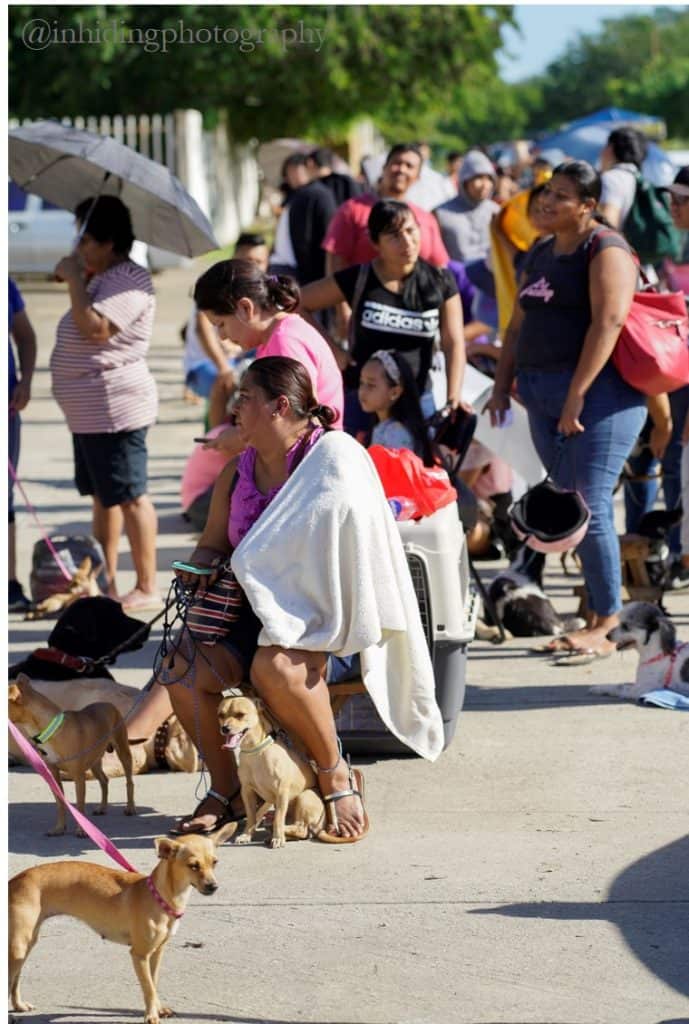
While the people were in line, the girls and I handed out registration forms and answered any questions that people had. A few times we would need to pull people out of line if their cat was not in a secured cage or bag or if their dog was not on a leash. We would take them into the clinic and they could borrow a cage or leash from Coco’s. Other times we would advance pregnant animals to the front of the line so they did not have to be out in the heat. Despite being mid-November, it was still hot. Although undoubtedly for the people who got in line at 5 a.m., it didn’t feel so warm.
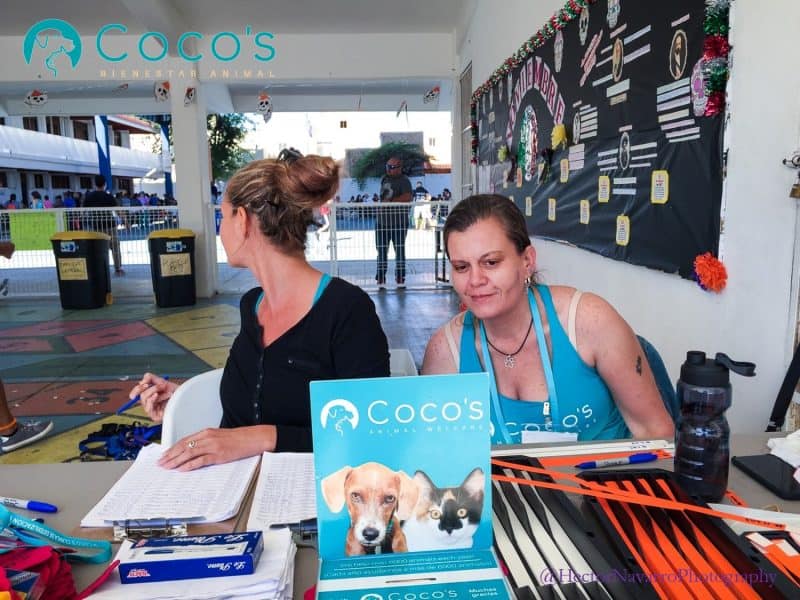
Step 2: Registration and Intake
Some people waited in line for 2-3 hours. And that’s just to get in the door, where the real waiting started. Once you got to the front of the line it was time for registration. At the intake desks the animal(s) got a tag with a number, the cage or carrying case (for cats) got a matching number and the human received a paper with the same pick-up number. The tables were staffed with volunteers and despite their best efforts, mistakes were made, especially on the cat side. There was a different set of numbers for females versus males and sometimes duplicates happened. I stayed out of the fray. It was a true example of too many cooks in the kitchen.
It was at this point where the human owner gave or denied permission to cut the animal’s ear slightly to indicate sterilization had been done. This is equivalent to a human getting an ear piercing, it is no more painful. This procedure is widely done in sterilization clinics and we really encouraged owners to say yes to the snip while the animal was under anesthesia. As dogs and cats might get lost or are returned to the streets, they could end up back at a shelter, who will sterilize them before being released. Without the ear being cut, it is difficult to know if the animal has been sterilized, especially for females. Only after being put under anesthesia would the vet find out. So a small ear cut allows future vets to know that sterilization has been done, thus avoiding unnecessary anesthesia, which is always a risk to any animal.
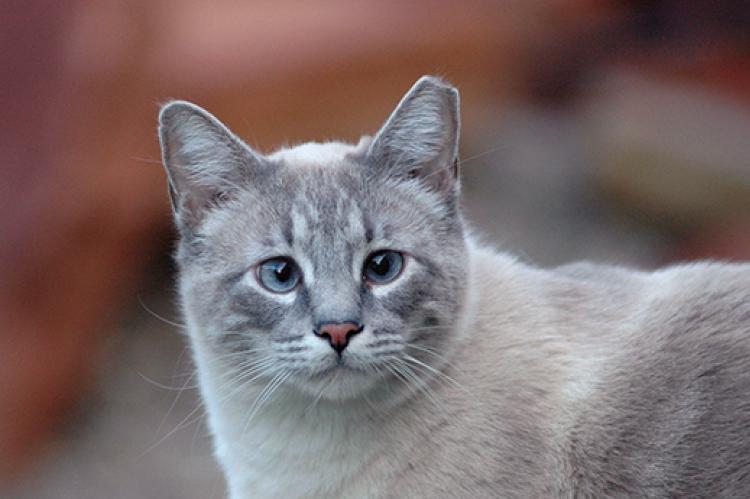
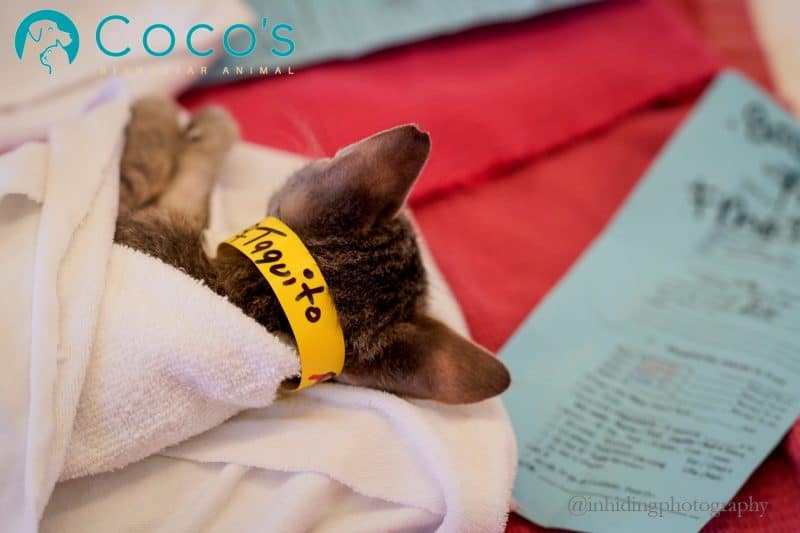
After intake and all the (correct) numbers were assigned, I would take the animal to the surgery prep area. I was working on the cat side so thankfully most of the animals I was transporting were small and light. I somehow found myself with that job mostly because I liked to be moving and not stuck behind a desk. I worked the line a lot too, chatting with all the humans and trying to be helpful. If it involved talking to a lot of people, that was the job for me.
The fact that the girls and I spoke Spanish made this experience 100% more enjoyable for us. It was really fun – and easy – to switch back and forth between languages, sometimes in the same sentence. Most of the vets and volunteer techs spoke English, but most of the humans who were bringing their pets were exclusively Spanish speakers.
Step 3: Medical Check Up (dogs)
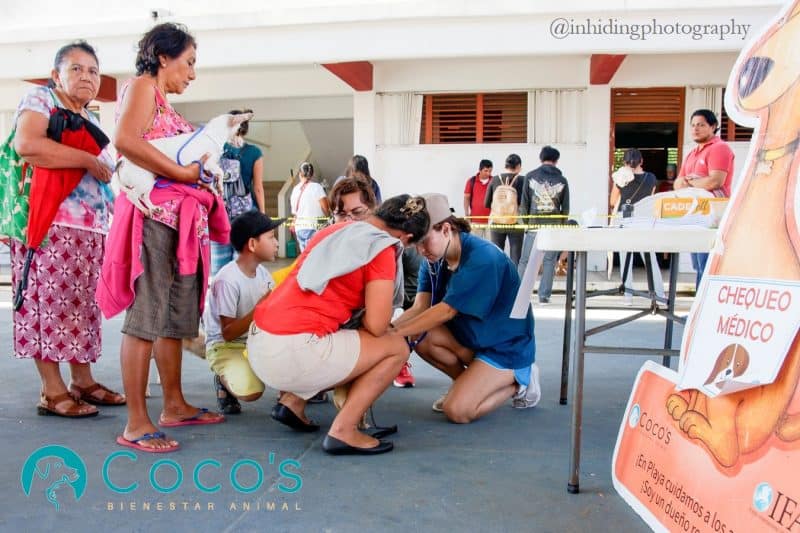
If the human arrived with a dog, after check-in they would go to the medical check area, where a vet tech would do a basic exam to ensure the animal was healthy enough for surgery. I’ll be honest, I don’t know what they were looking for because I mostly worked with the cats.
Step 4: Surgery Prep
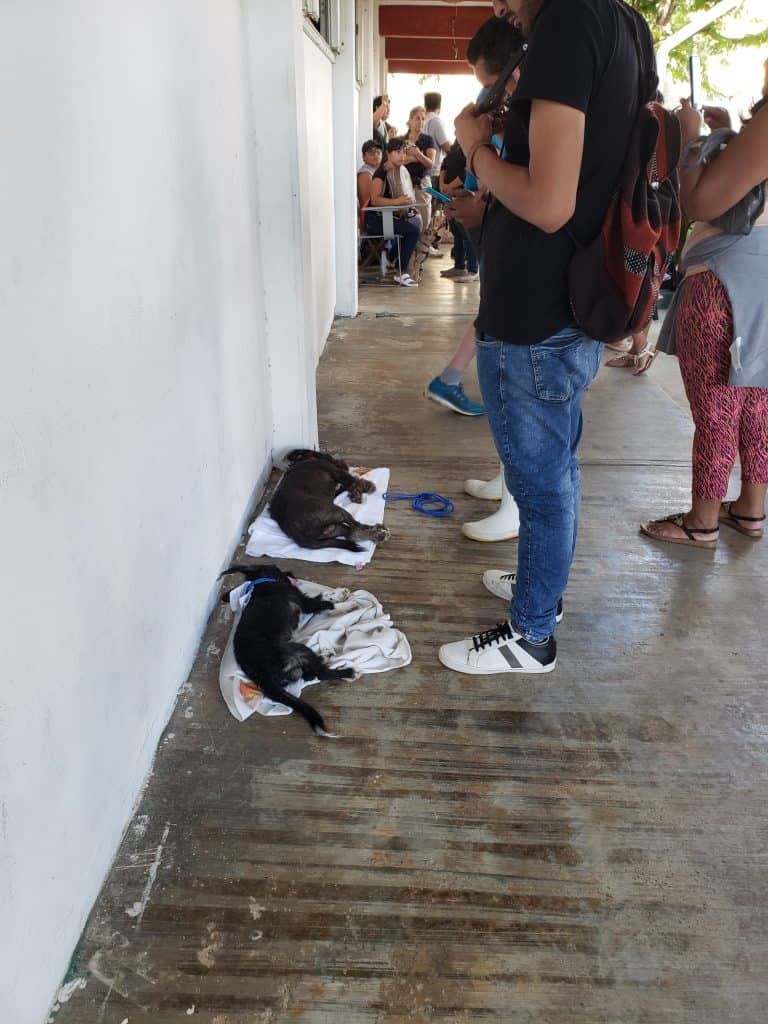
The cats and dogs then ended up in the same place – surgery prep. The dogs stood in line with their owners and as they approached the font of the line they were given an injection to sedate them so the surgery prep could begin. As the dogs became sleepy the volunteers would take them into the prep area.
It worked a little differently for cats. They would remain in their cages until the volunteer (who had a little more skilled training with animals) could take them into a back room (so they didn’t escape) and inject them. We loved it when cats came in pillow cases or shopping bags because they could be injected through them and it was much easier.
It was very helpful that this clinic was being done at a school. Each room had a different purpose, but it also had a door that closed. Every once in awhile someone would yell “PUERTA!”, meaning “door” and we would have to close the door quickly, as there was an animal on the loose. Despite the massive number of animals, we did not hear of any getting lost or escaping.
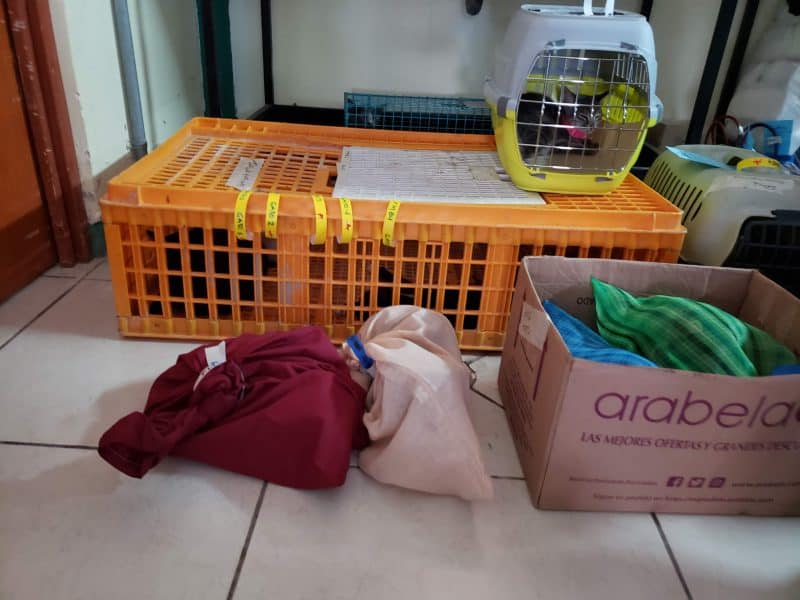
Fun fact: once the cat or dog seemed to be asleep you could test it by tapping the corner of their eyes to see if they responded (if they did the animal was not fully asleep yet). Another method was to try and open their jaw. If you felt resistance they were not yet ready.
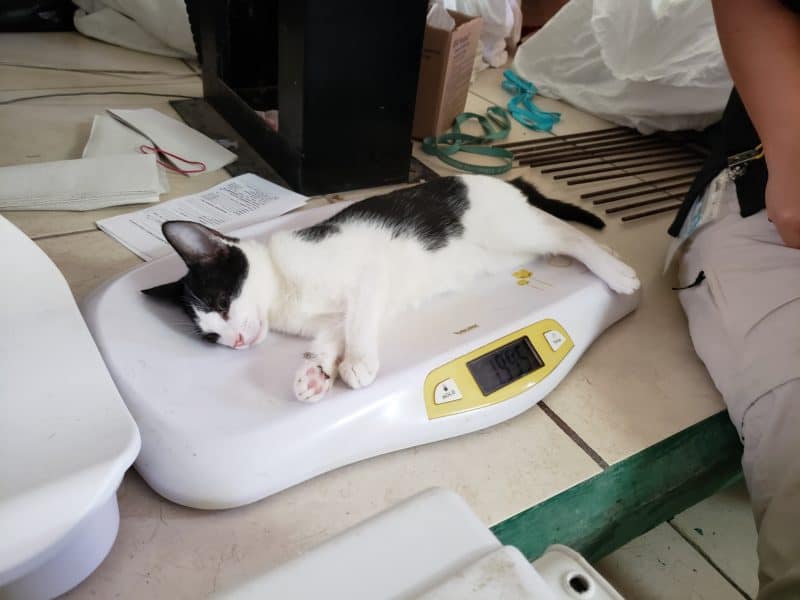
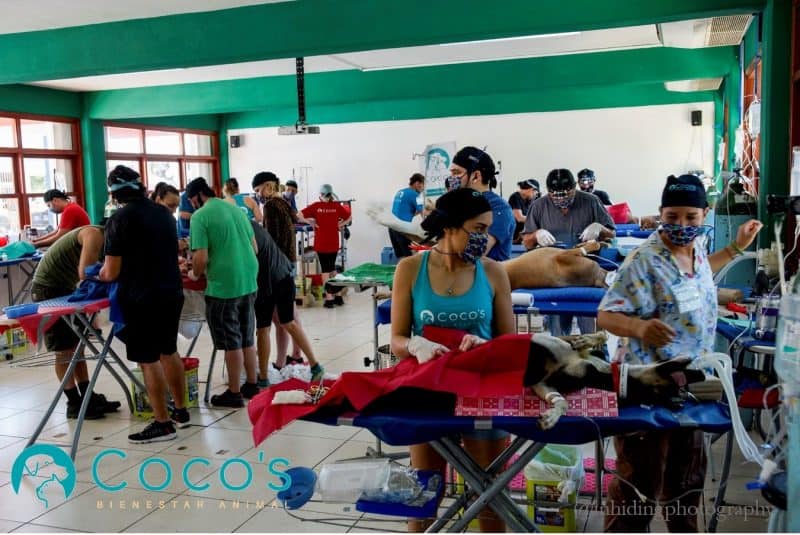
Once the kitty fell asleep, I would help the volunteer weigh and tag the animal. We became a well – oiled machine, getting the cats ready for the prep table. This process happened fairly quickly and quite a few times we would have to “hurry up and wait” because there was a backlog at the surgery tables. Surgery was the longest process (especially for female animals) and where we needed the most skilled workers. Vets from all over Mexico, USA and Canada volunteered their time for this clinic. Zoe spent most of her time in the surgery room, helping the surgeons and just soaking it all in for her future career. (She wants to be a vet.)
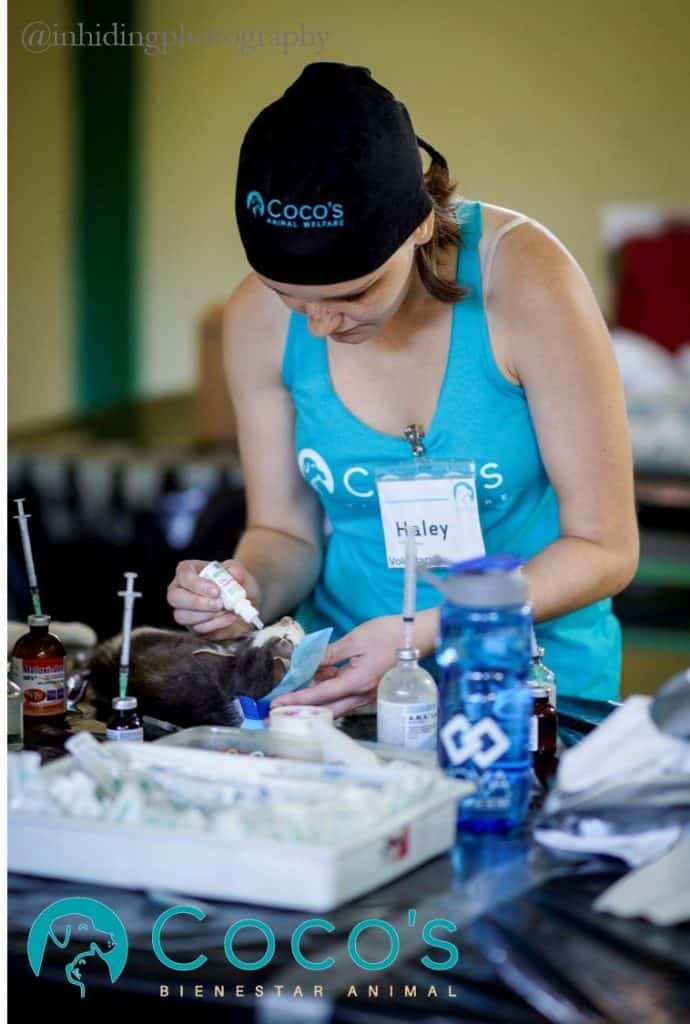
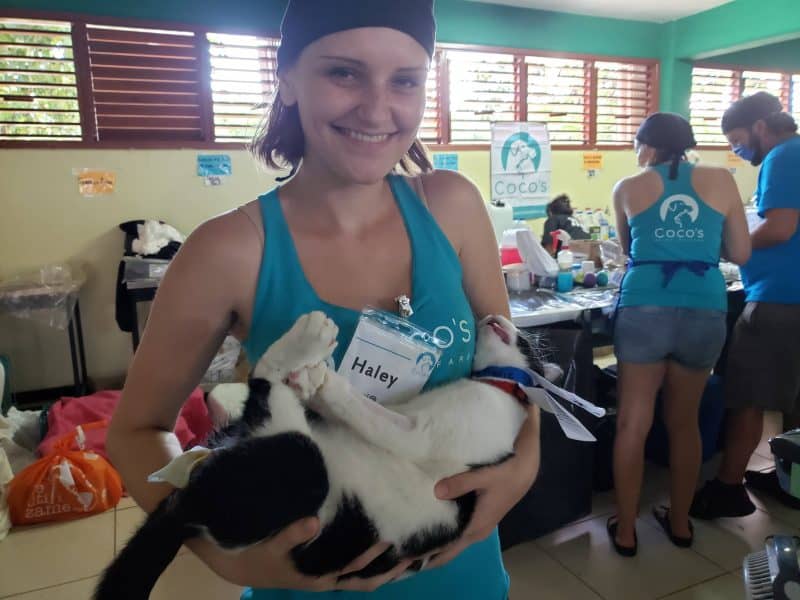
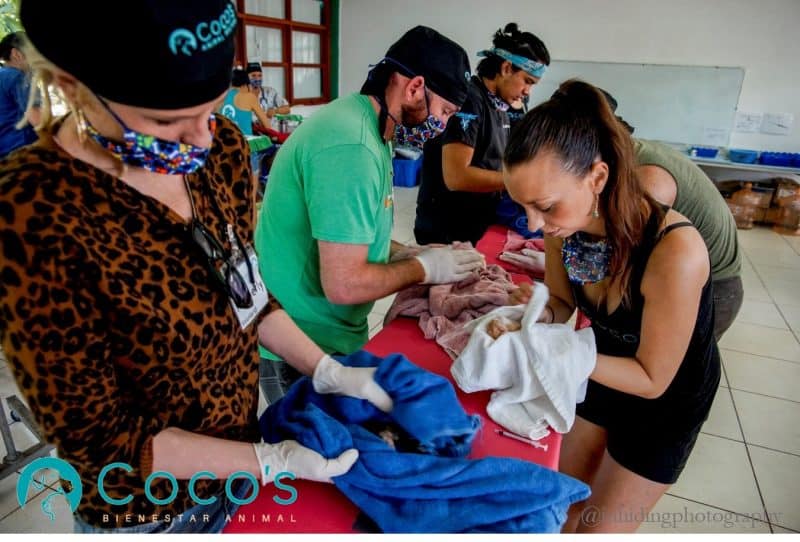
But once they were fully asleep it was time for vet techs and trained volunteers to do their prep. Haley was more involved in that process so I’ll let her describe it for you here.
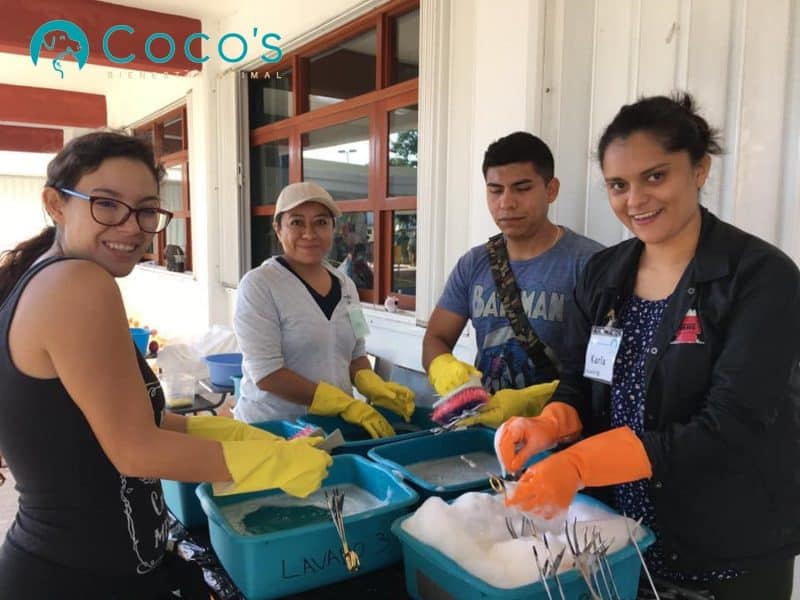
Prep consisted of step 1: remove liquids and solids, as in, poop and pee. It’s like a Go Gurt – you have to squeeze their bladder and massage out the nasties into the trash cans. Step 2: shave the part that will be operated on. Step 3: inject them with some kind of medicine, I’m not sure what. I believe it was a vaccination. Step 4 was the iodine and alcohol preparation. The animal had to be sprayed with iodine and alcohol alternatively at least 6 times. I think there was another liquid in there but I can’t recall the name because it was very scientific. It was blue. Then you put a piece of gauze over what will be the surgical area and spray it again to keep it in place. This helps keep the area clean during the transportation to surgery. Finally, when I had nothing else to do, I would go around with eye drops and put drops in cat eyes. Typically when cats are under anesthesia they do not close their eyes so they dry out quickly.
Step 5: Surgery
After prep, the animal would be carried from what is normally a biology classroom to the computer room (it was the only one with A/C, which was needed during surgery).
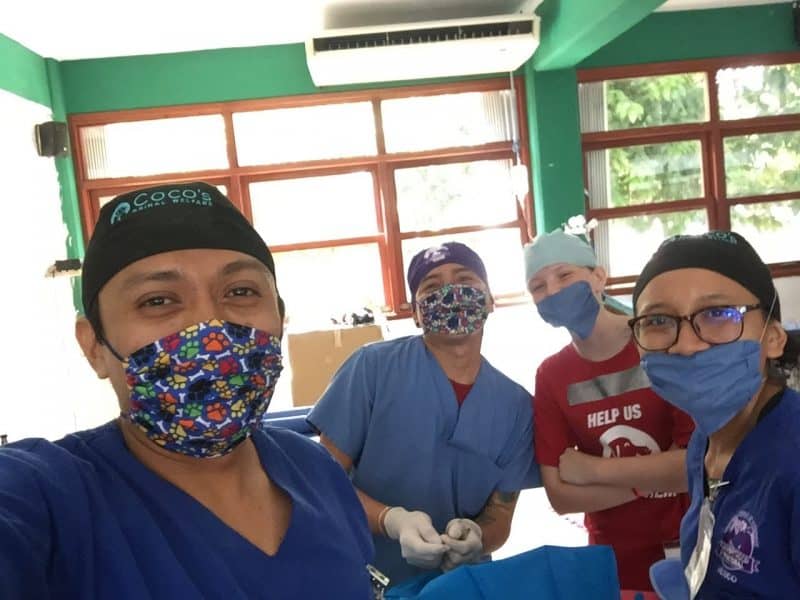
I can’t really tell you what happened in surgery so I’ll let Zoe fill you in on this part.
Before any of the volunteers carried the drugged animals to the surgery room, they’d check if there were any available surgery tables. Once the animal was on the table, the surgeon collected his/her tools and got to work! When they were done, one of the volunteers that was standing in the center of the room, waiting for an animal, would transport them to recovery. The vets would yell “TRANSPORTE” and then you’d have to hunt them down before other volunteers. It was like the Hunger Games, there was competition to be the transporte. I was usually doing that job, although I sometimes got distracted with watching the surgeries.
I made a few vet friends in that department, meaning I’d always watch their surgeries and ask questions, etc. One surgeon in particular told me a wild story of their CRAZIEST surgery. A few years ago she was helping a dog who had a stomach ache, and didn’t want to eat. She did an x-ray and she found AN ENTIRE RACCOON SKELETON! She later did surgery and had to pull the entire skeleton out of the stomach. So crazy!!
Step 6: Recovery
After surgery was done, a volunteer would take the unconscious animal to the recovery room. There was one room for cats and one for dogs. In these rooms volunteers would monitor everything from heart rate to temperature to breathing as the animal recovered. Volunteers would also clean ears and remove any ticks that they saw. Haley worked in this room briefly but soon begged for a job transfer. She was not fond of digging in ears and putting thermometers up butts. SAME, Haley. SAME. Haley also reports this was the worst smelling room, due to all the fluids that came from inside an animal.
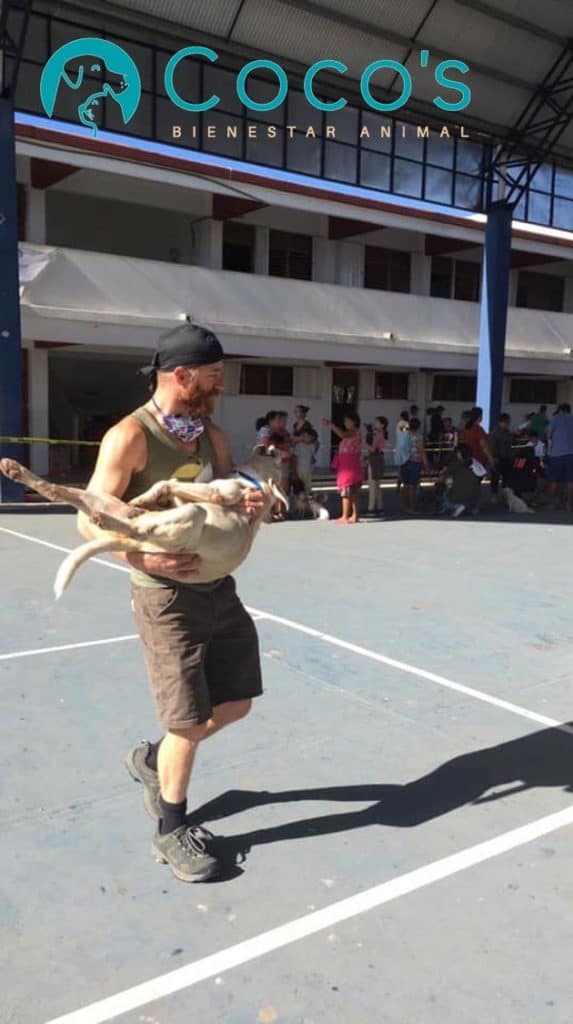
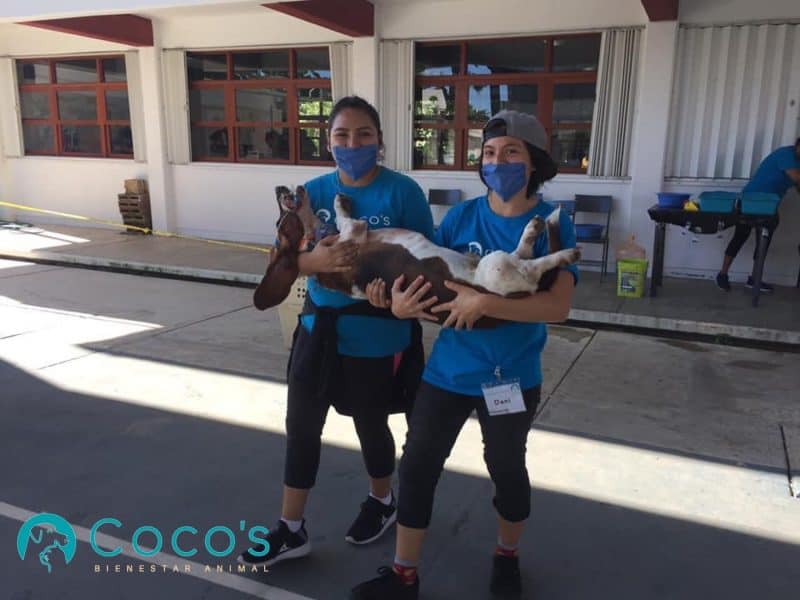
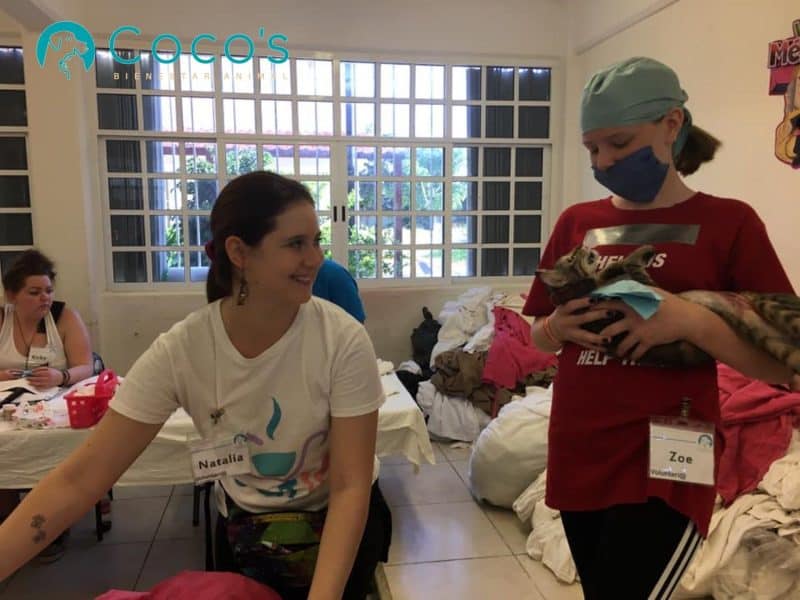
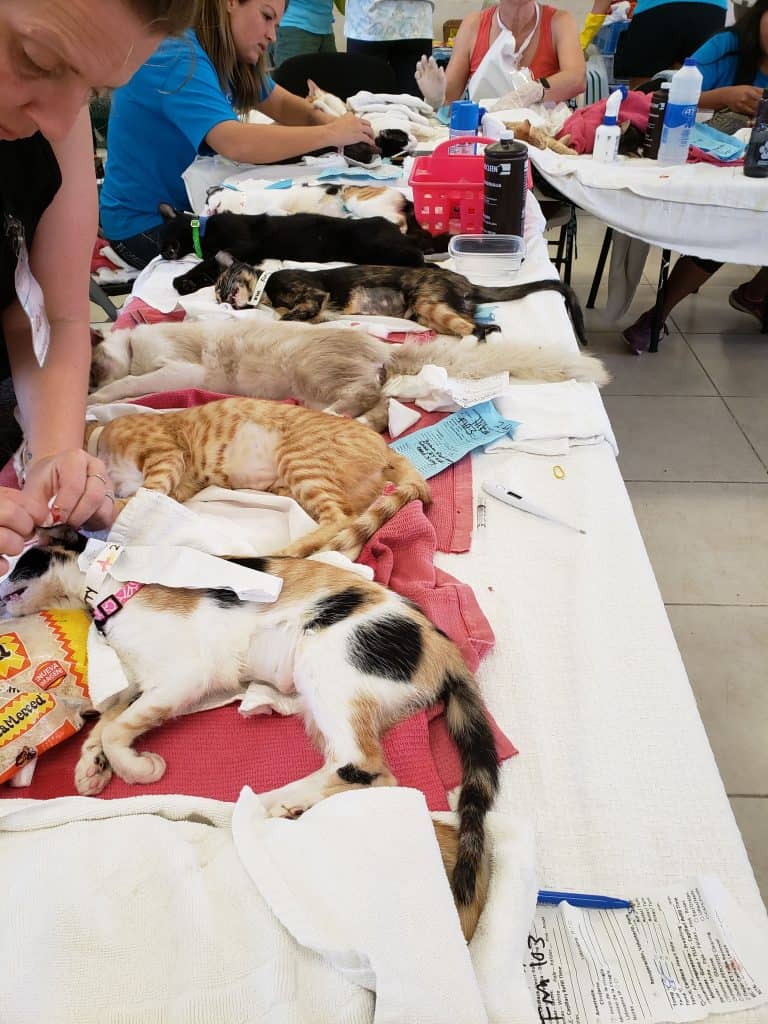
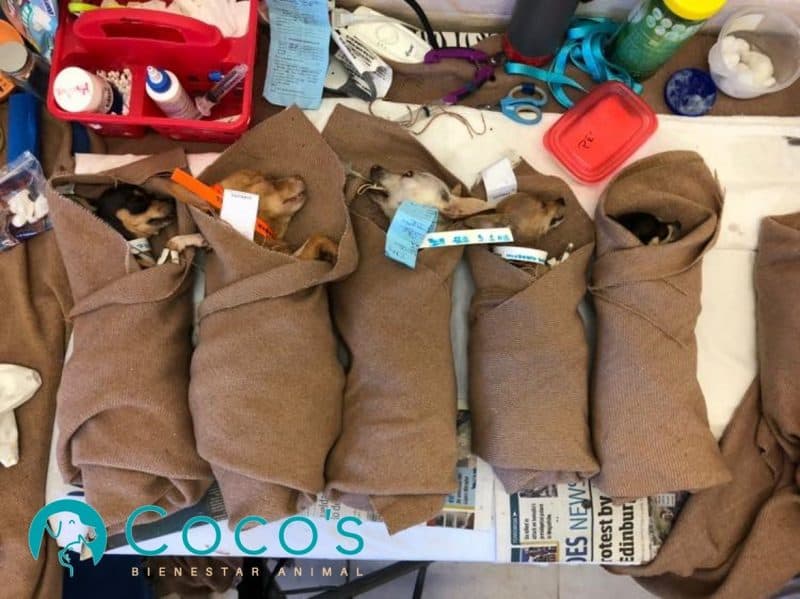
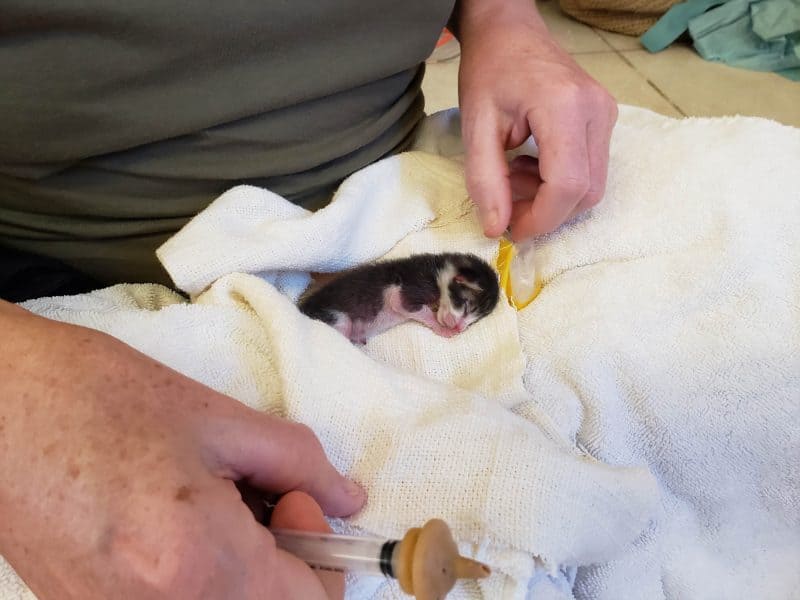
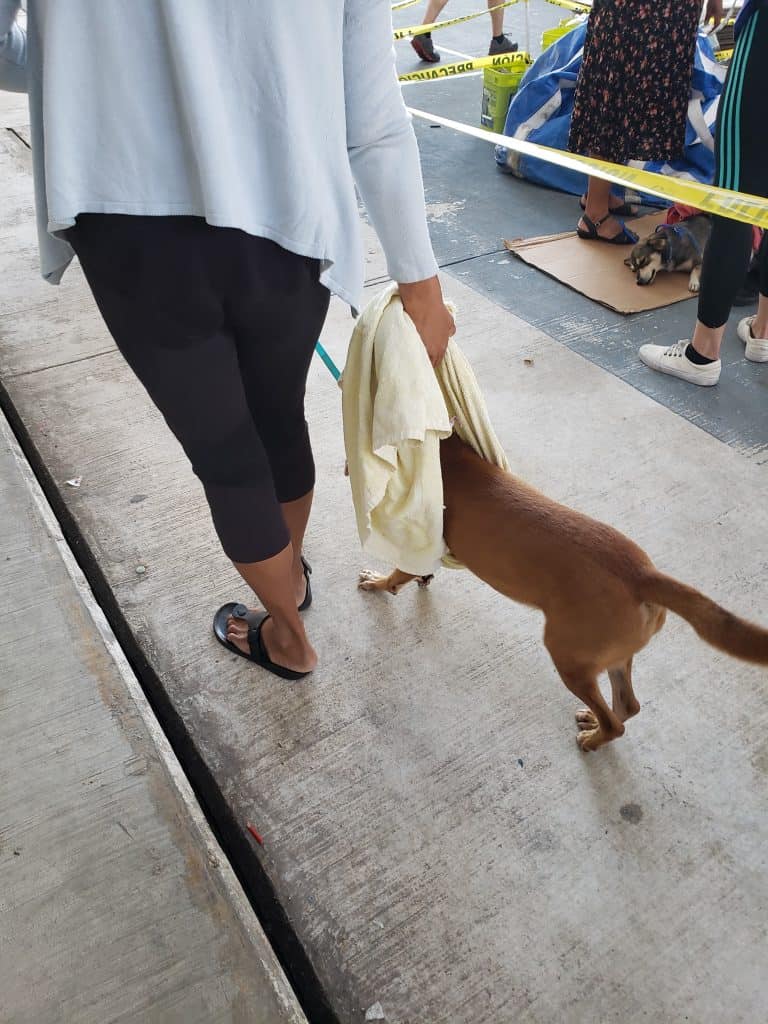
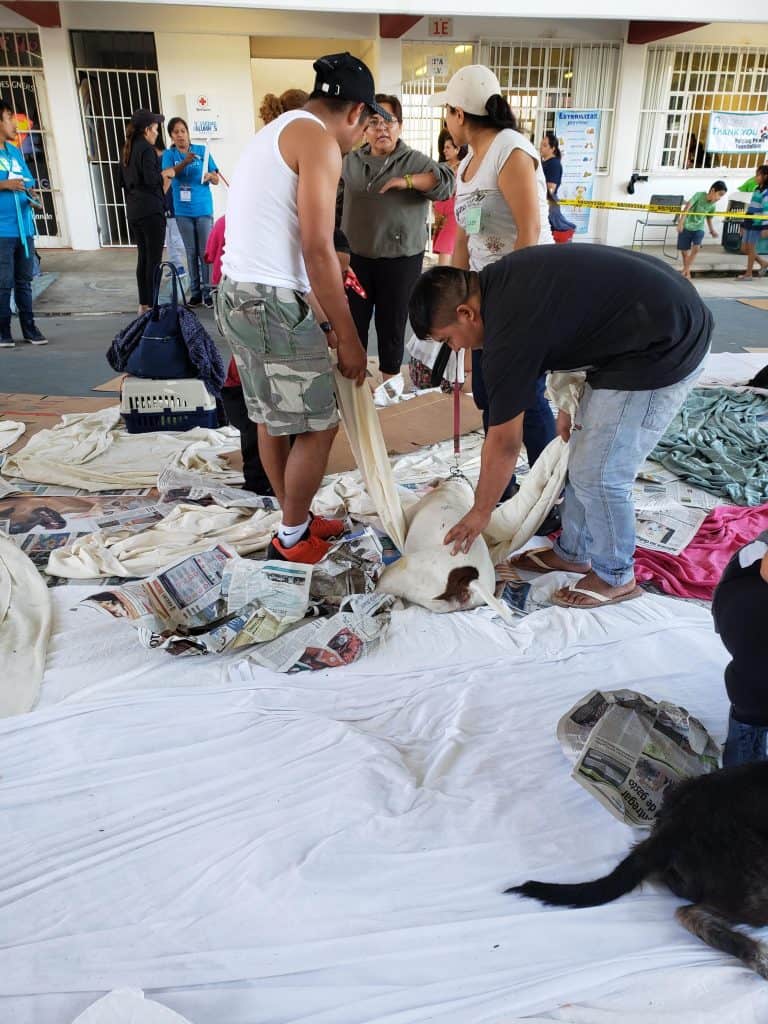
Once the animal became more awake and their breathing tubes could be removed, they were moved back to their carrier (for cats) or taken out to the recovery area (for dogs). The recovery area for dogs was where owners could be reunited with them and would begin to help them walk again and try to shake off the anesthesia. Watching owners and volunteers in the recovery areas was a little disconcerting because it was like the animals were getting a very rough Swedish massage. But this was important to help them come out of the anesthesia.
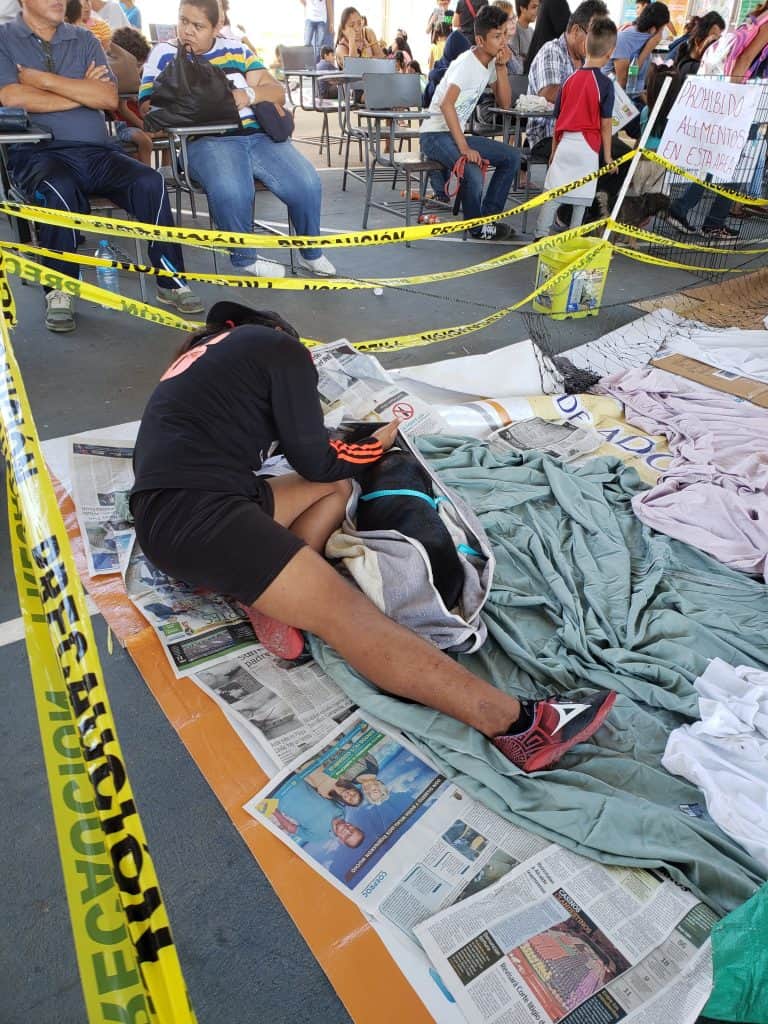
Step 7: Exit Instructions and Departure
Once animals were reunited with their humans and the dogs were a little more awake, they were directed to the exit desk where they received vitamins, sometimes some pain medicine, and instructions for what to expect during recovery.
The entire process usually took 7-8 hours, from arrival in the line to departure from the school.
A Valuable Service
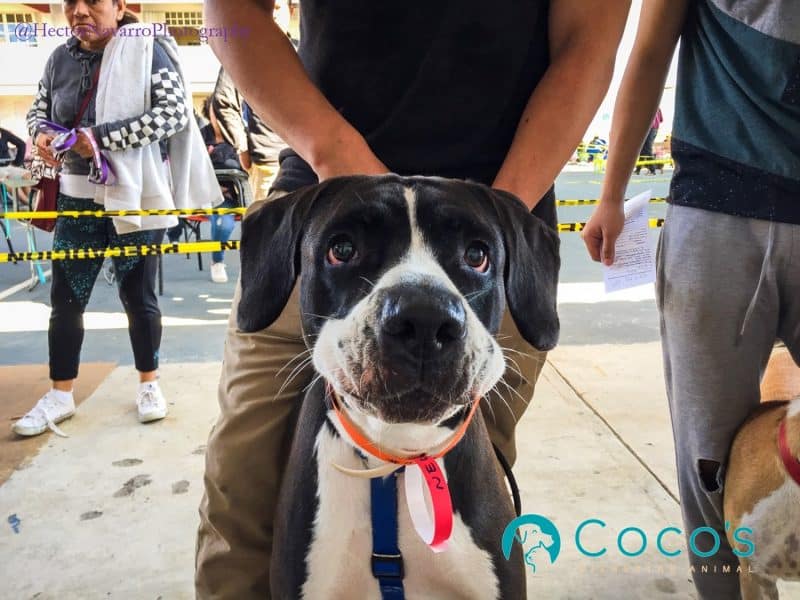
Without this free service, a surgery scheduled at the clinic costs $15 USD for cats and between $30 and $60 for dogs. At first I was shocked it was so inexpensive, and yet so many people were still standing in line for so long in order to receive the surgery for free. But it shows how dedicated they are to their animals. And many people had multiple animals, so if you had 3-4 animals, that surgery cost could definitely add up. Quite often we learned of people bringing in animals that they found on the street. Some people came several days in a row – first with their own pets and then with the stray animals that they could catch. Such good Samaritans.
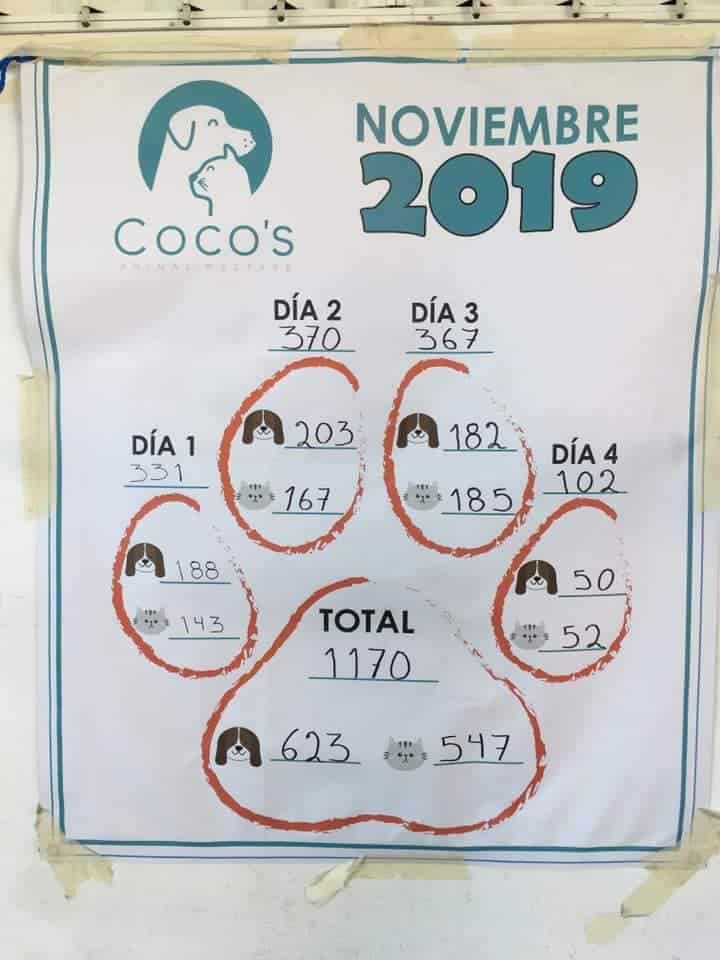
Coco’s had a goal to sterilize 1000 animals in 4 days. They reached that goal by the end of day 3. Due to limited supplies and equipment, they could only take about 100 more animals on day 4. But it was clear there was enough demand for hundreds more surgeries if Coco’s could have handled them. If you are looking for a recipient for your charity dollars, I highly recommend donating to Coco’s, as they are still raising funds to cover the cost of the clinic. It was the first year the donations did not cover the clinic before it was held.
The Hardest Job You’ll Ever Love
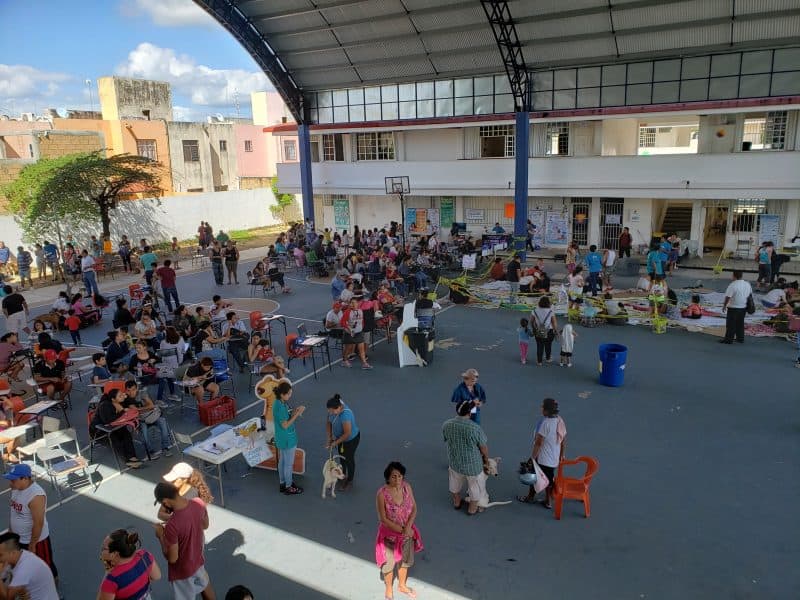
Ok, so it wasn’t the Army, but we worked hard and we loved it. We didn’t expect to like it so much. We went to the clinic for 3 days straight, getting there at 7 a.m. each day. That in and of itself is a feat that has rarely been done among the Sherman girls. But we had an absolutely amazing weekend. I’m not sure I have ever done a more rewarding volunteer job. The clinic was not without complications, but it was well organized, within the framework of “you just never know what to expect”. That element of chaos that made it exciting.
I was reminded of my love for event planning and solving logistical problems. My days of planning Fall Festivals and 4th of July Parades are never far from my mind.
Coco’s did a great job of volunteer management. They had an endless supply of food vendors showing up with breakfast, snacks, lunch, more snacks and drinks. We had a break room away from the frey of the animals where we made friends with other volunteers and rested our tired feet.
This was the second Spay and Neuter clinic Haley and I have participated in (our first one was in Panama in 2015), and the third one for Zoe (Panama, Dominican Republic and now Mexico). Hopefully we’ll have the opportunity to do it again. And hopefully Coco’s can continue to provide such an important service to the community in Playa del Carmen.
